An Easy Flower Bouquet DIY
/Gifting a bouquet of flowers? Here’s a cute and simple DIY to dress them up!
This is the same concept as the hand lettered DIY wrapping paper that I shared in December, except instead of wrapping a present, you’re wrapping it around a bouquet!
Here’s what you’ll need:
Markers - Crayola Super Tips are perfect for this project
Here’s what to do:
Cut a piece of kraft paper into a slight triangular shape, big enough to wrap around your bouquet.
Write - you can do a quote, song lyrics, or the name of your recipient! Get creative!
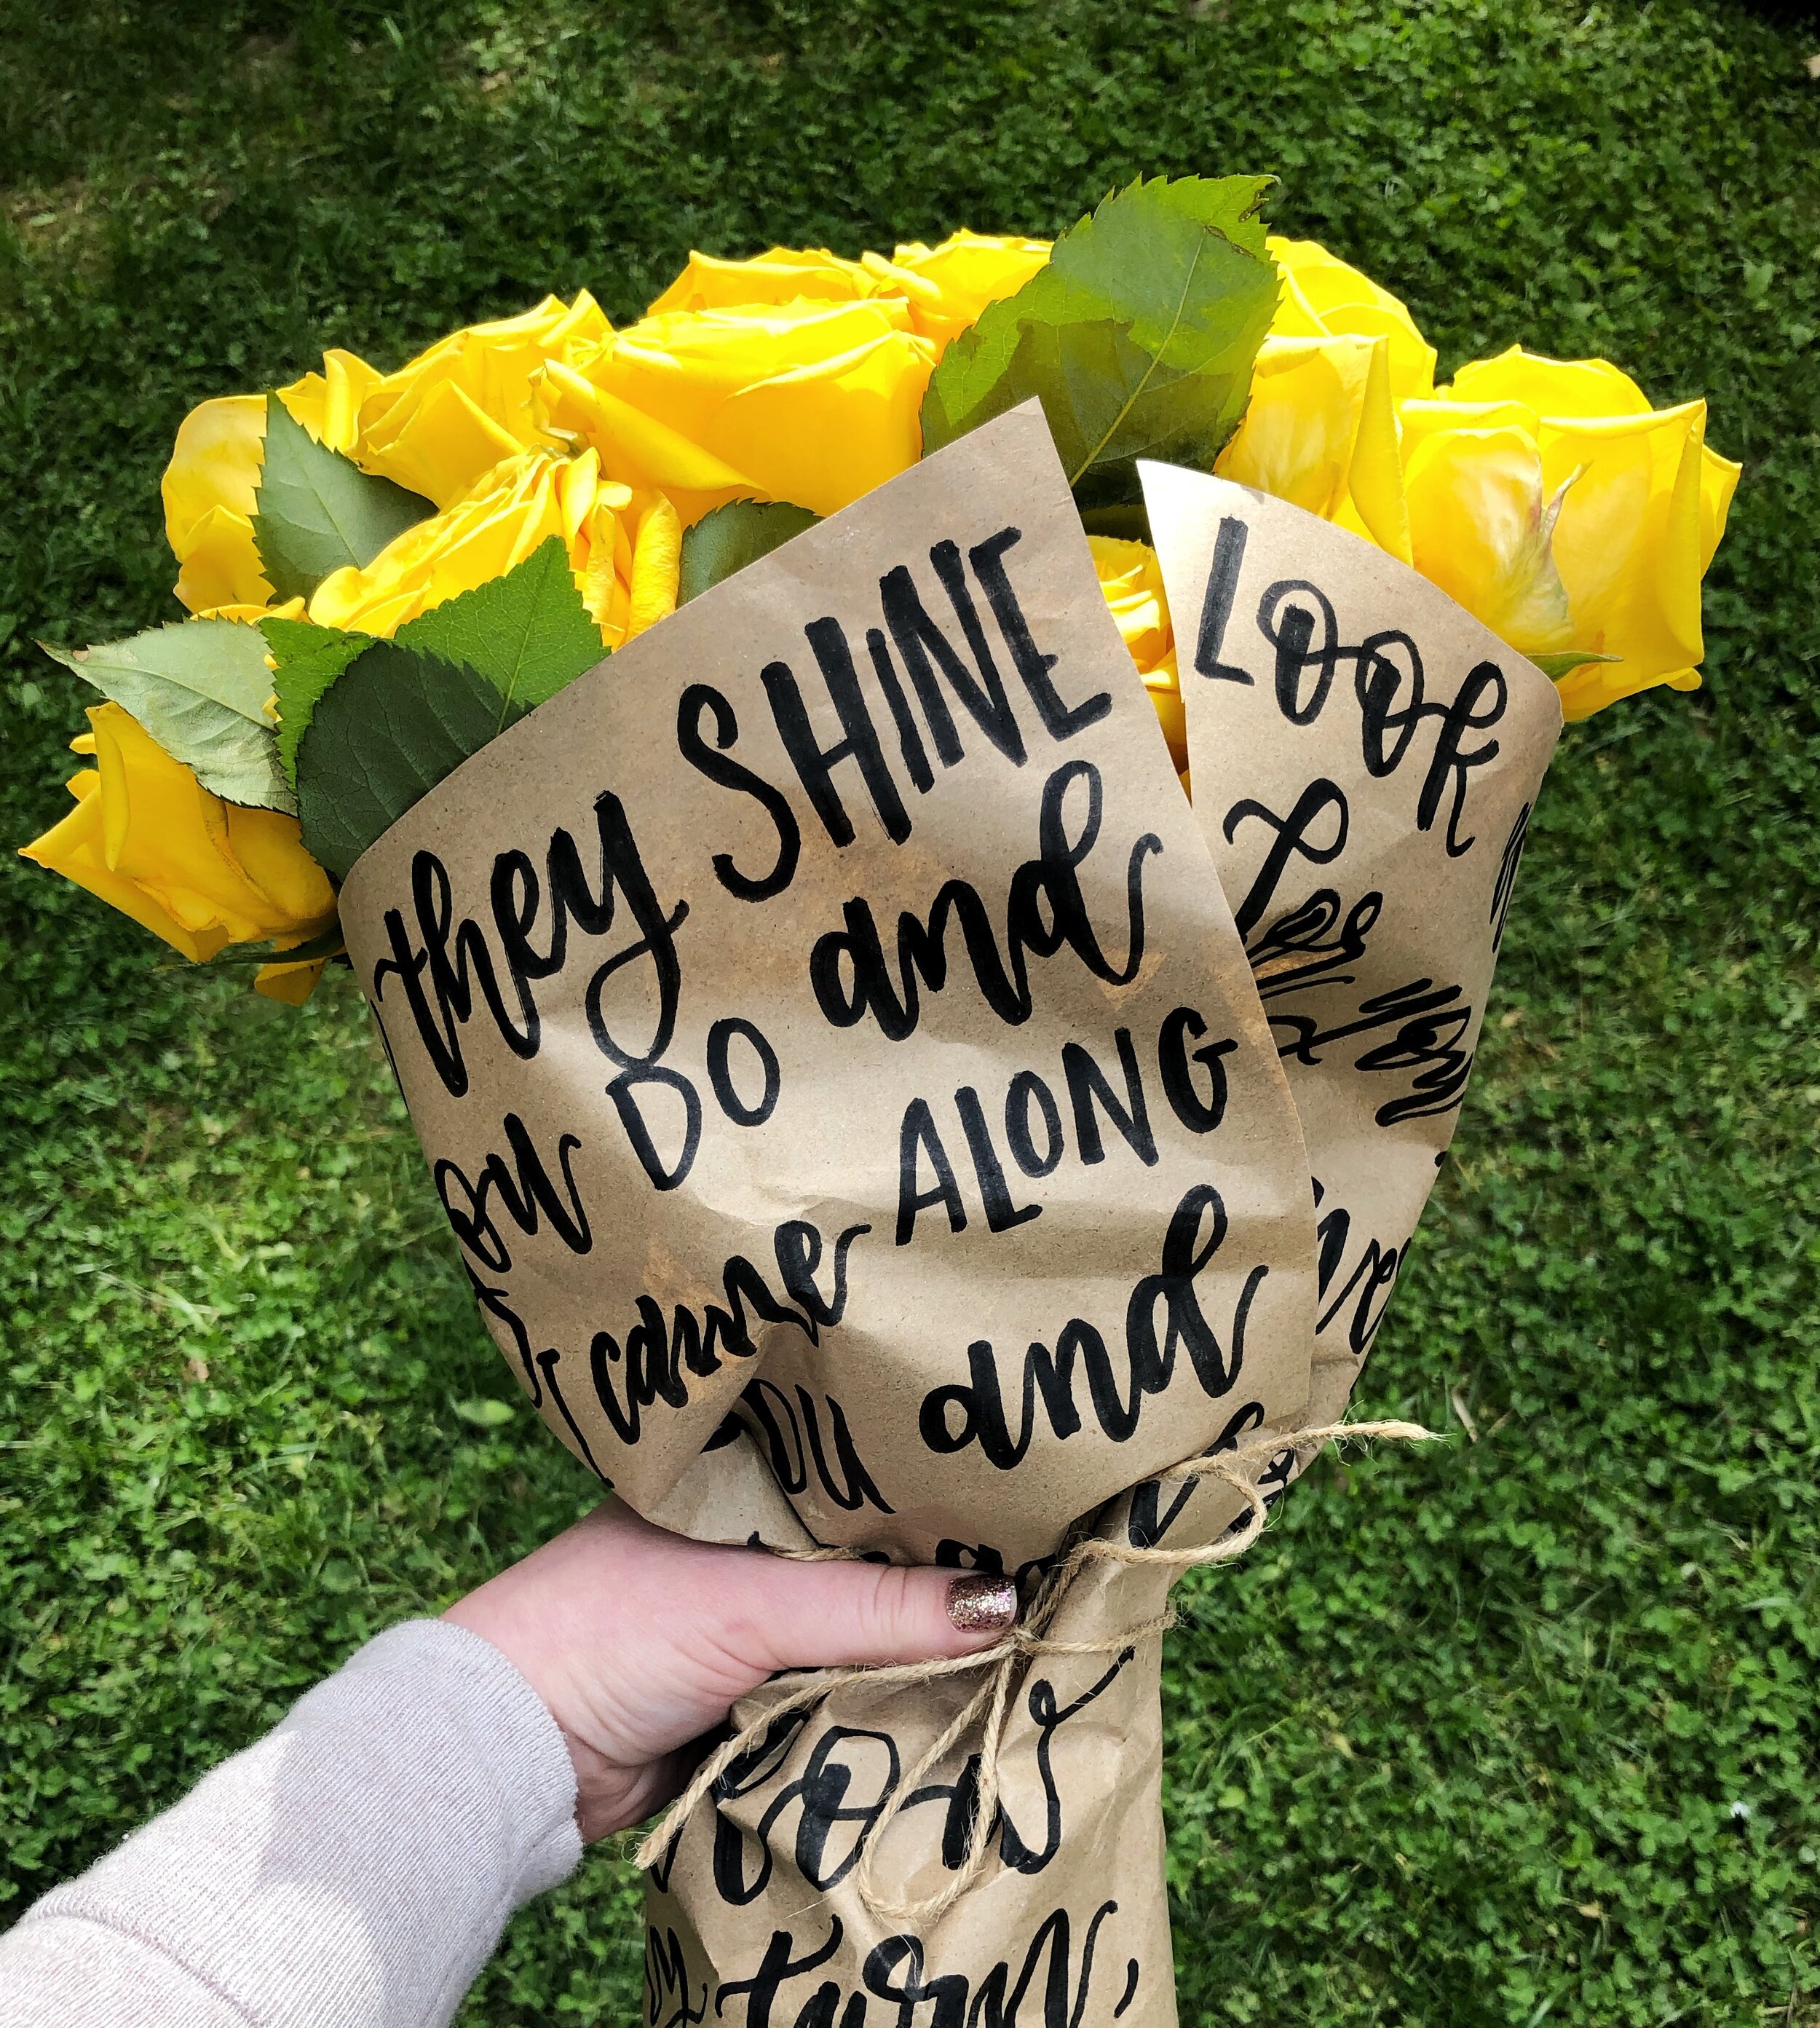
I used fauxligraphy on my paper, which is where you hand letter and thicken the downstrokes on each letter, but simple cursive or even print (or a mix of all caps and script!) would look just as good. Don’t try to make it perfect - it’s going to look different once it’s wrapped around the bouquet!
You could even add doodles - get creative and have fun!
Once your writing is done, simply wrap it around your bouquet and tie it with some twine or some ribbon! If you need to, you can hold the two edges in place with some double sided tape. I should have done that for the bouquet of yellow roses since the flowers themselves were so full, but now I know for next time!
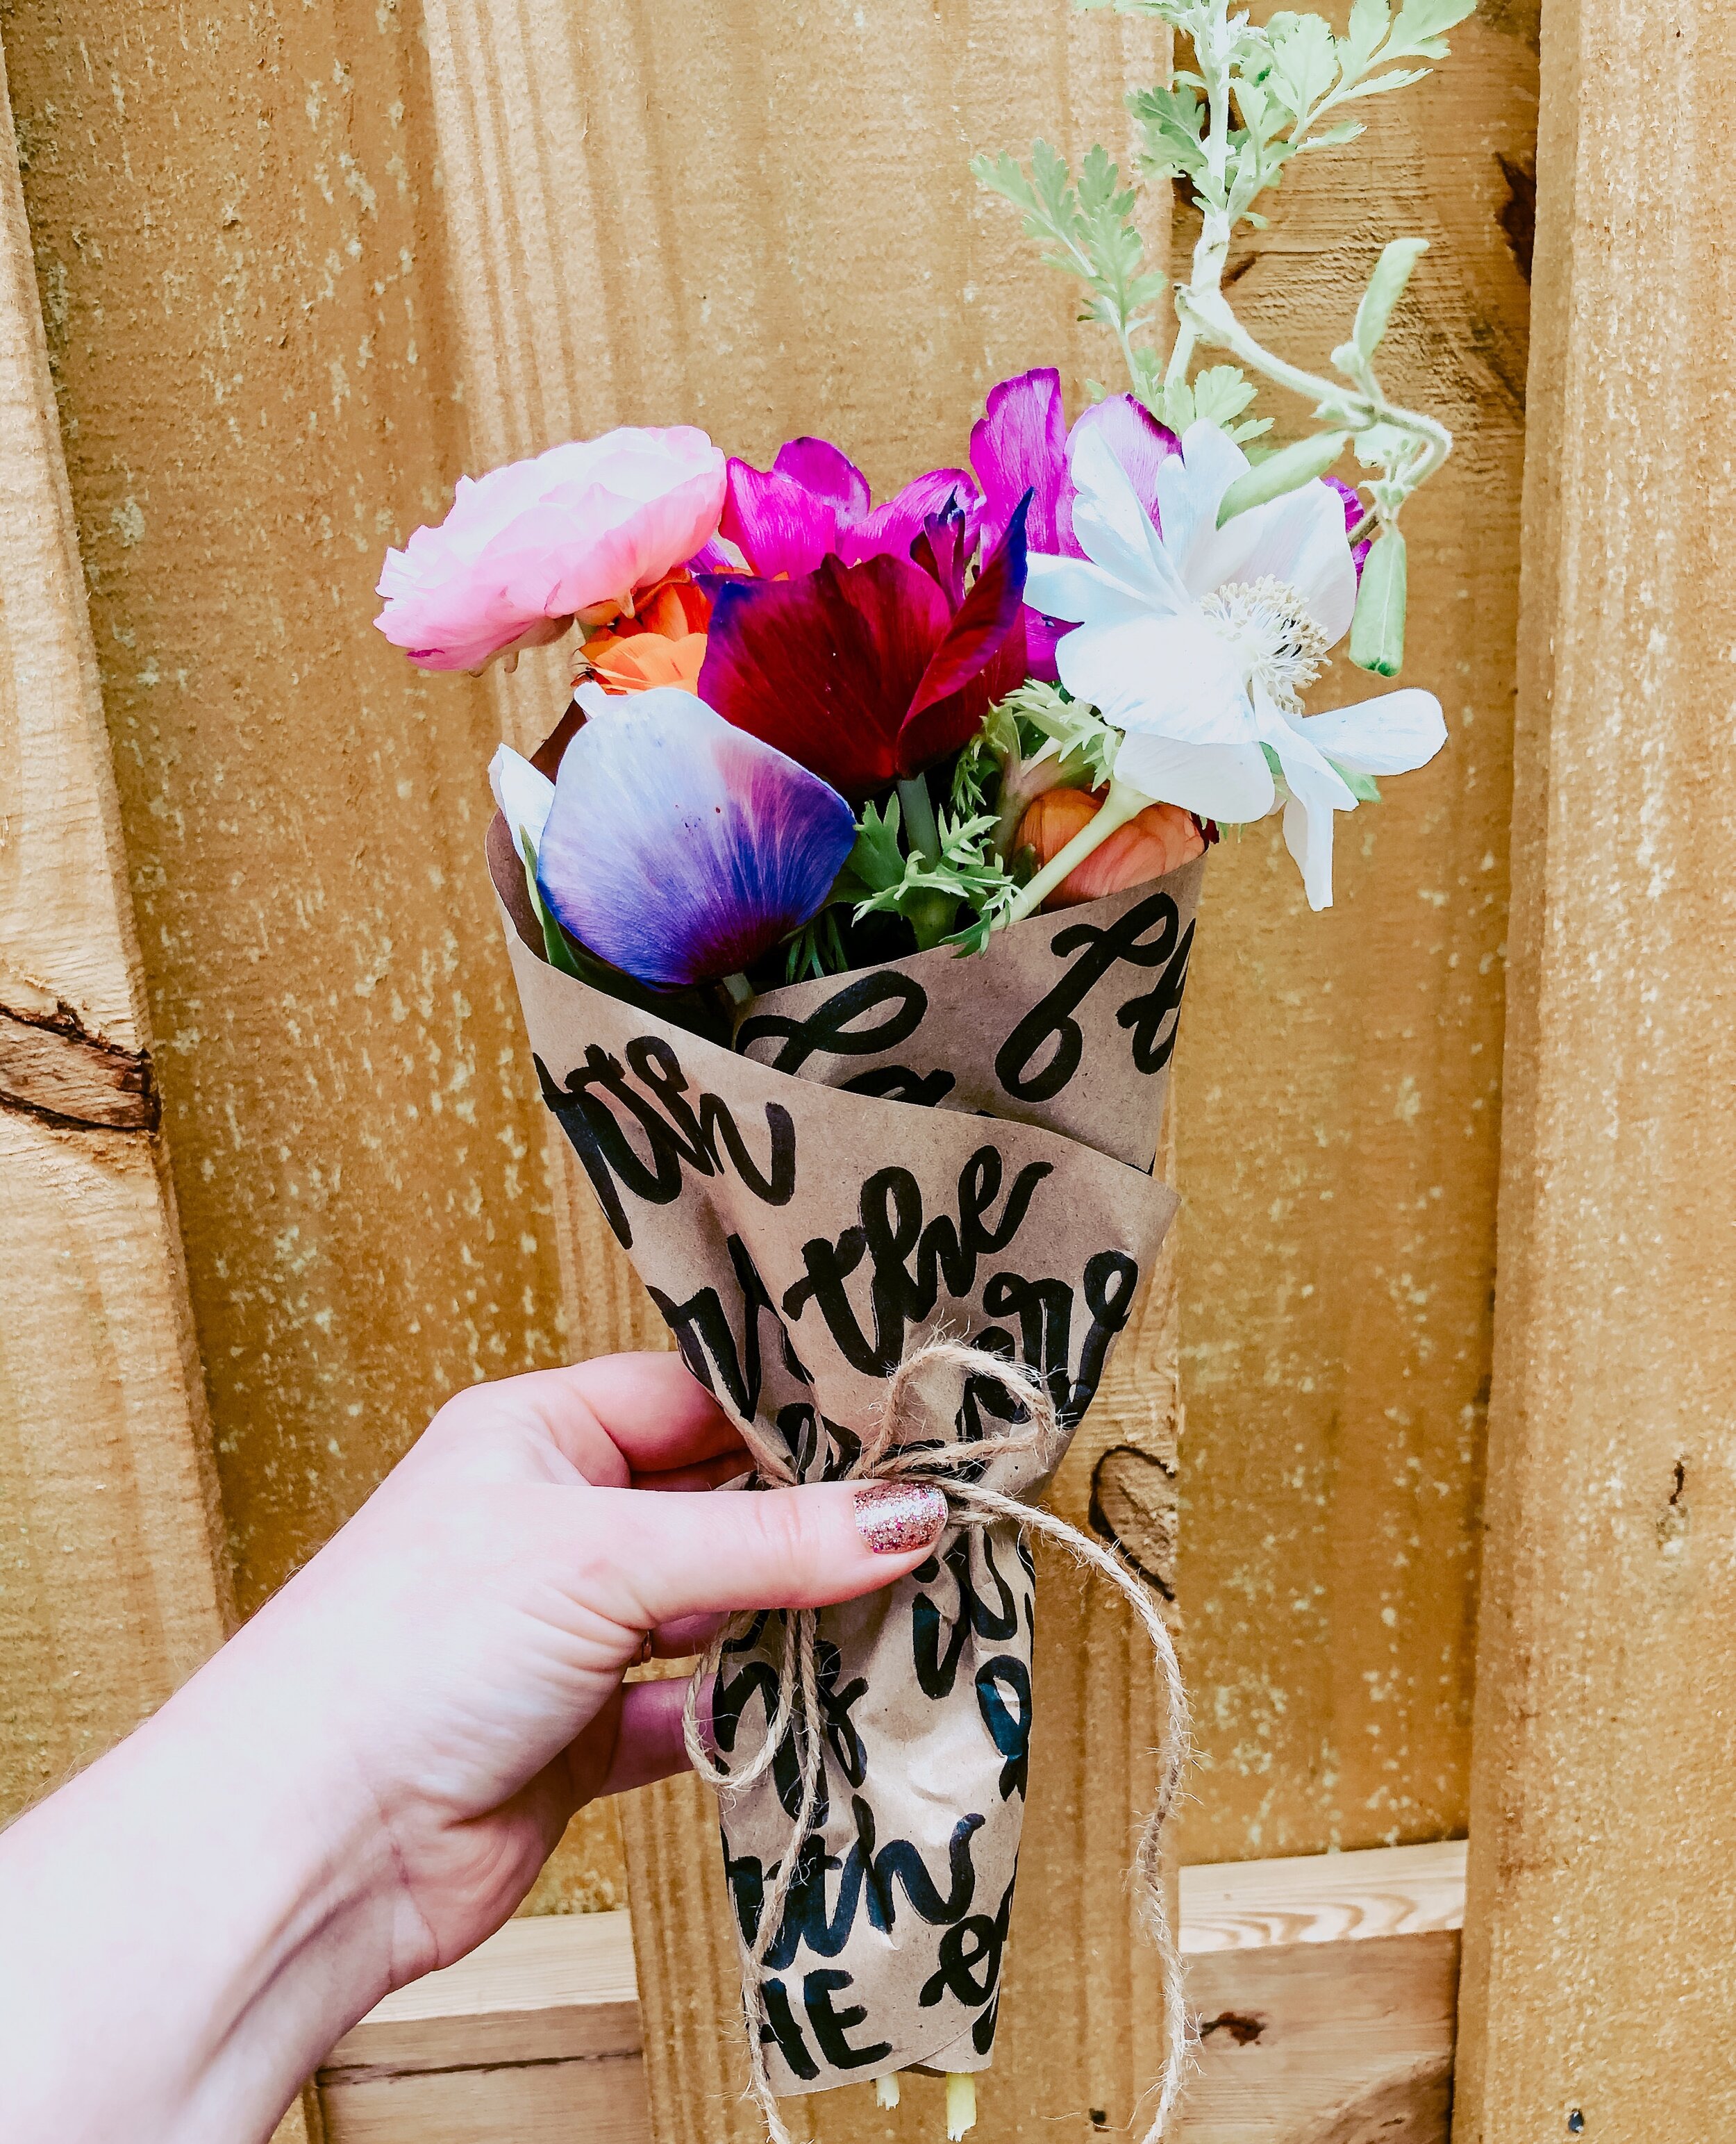
I made one for a little mini bouquet I got from a farmer’s market, too!
It’s that easy, and I think it looks adorable. How cute would this be for Mother’s Day, or dropped off on a friend’s doorstep?
Disclaimer: This post contains affiliate links. If you make a purchase from one of the links, I may receive a small commission at no additional cost to you.


